Moving your workflows from FME Desktop to FME Server means that you have access to a more robust platform, and more options for how to configure, access and automate your workflows. While it can be simple moving from Desktop to Server, there are a number of things that you will want to consider to ensure a smooth transition, and to make sure you get the most of out of your FME Server!
This is part 1 in a two-part series of things to consider when moving from FME Desktop to FME Server. Below, we provide tips related to launching a workflow in FME Server, and how your workflows will access data on FME Server.
- What will trigger the workspace?
With FME Desktop, you have two options for triggering a workspace – you can manually run the workspace, OR, it can be configured with a batch file and Windows Scheduler to launch at a particular time on that machine. Using FME Server, however, opens up plethora of options as for how a workflow could be triggered, and what could trigger it. Some commonly used examples:
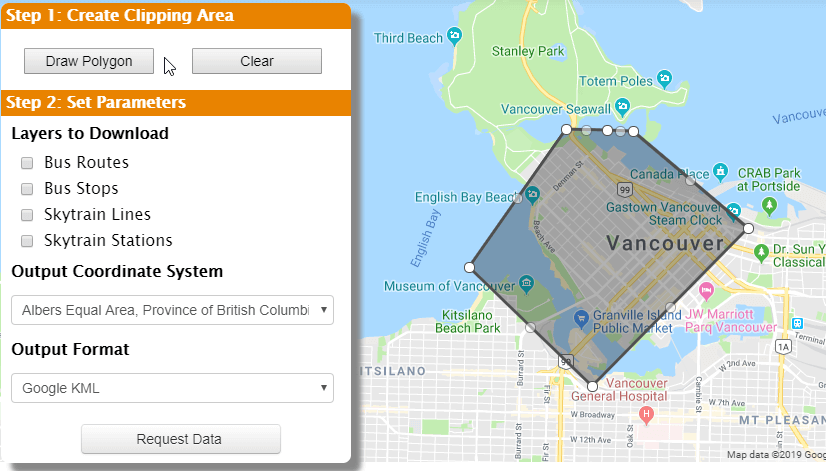
Launched via web application.
- You can connect to FME Server using REST calls via a web application. For example, Clip Zip and Ship processes for Open Data often use this technology. Here is an example:
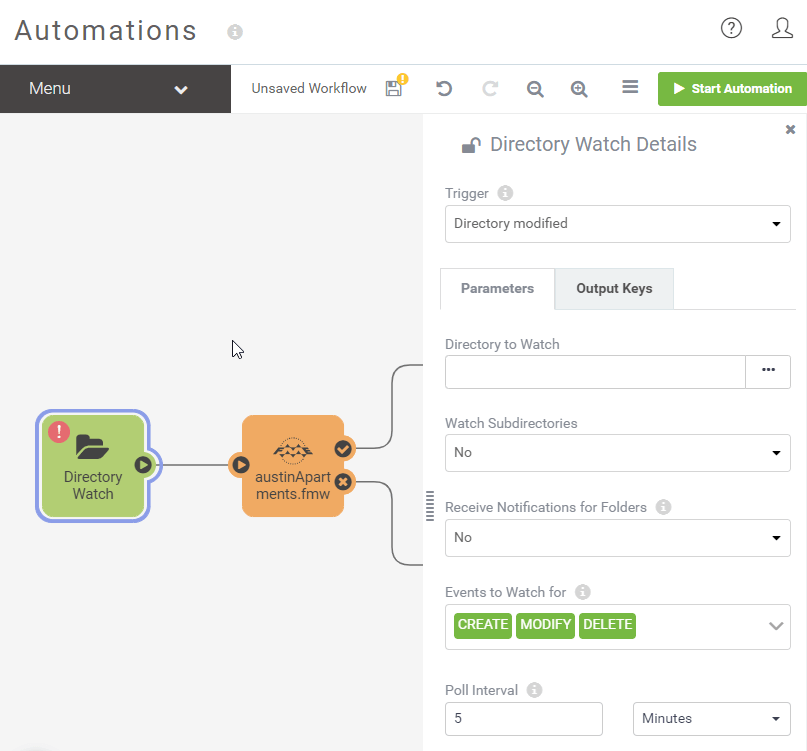
Launched after a file is added, deleted or modified in a directory or FTP site.
- Using the Trigger “Directory Watch” or “FTP Watch” in FME Server, you can have a workspace launch after a file is dropped or modified in a folder or on an FTP site, and subsequently process the data that was dropped!
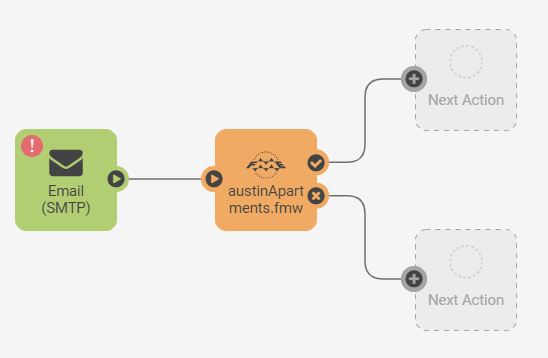
Launched via e-mail sent to FME Server
- You can configure FME Server to receive e-mails that trigger a workspace to be launched, and actually process the information and attachments contained in the e-mail. You can use either IMAP or SMTP.
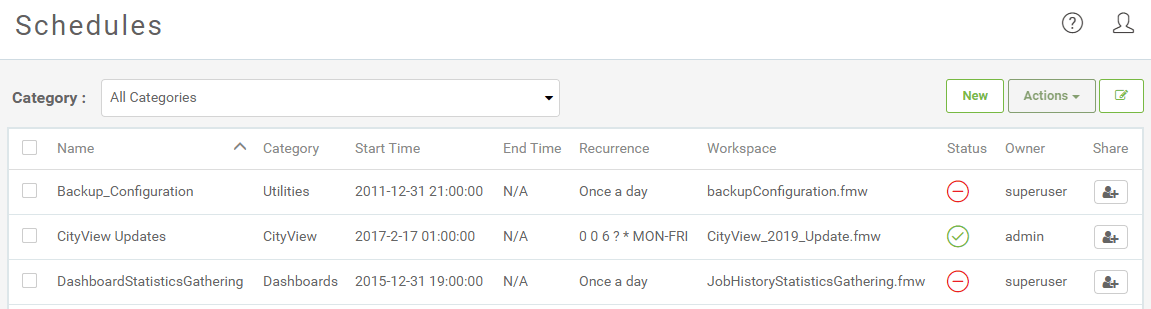
Launched via FME Server Schedules
- Configure FME Server to launch your workspace automatically based on a schedule. Keep track of your schedules and track your jobs using the FME Server interface.
2. How will your data be accessed?
Moving to FME Server means that your mapped file paths will no longer work. You’ll also need to make sure that your web and database connections are configured on FME Server as well. When publishing your workspaces to FME Server, make sure to note the following to ensure a smooth transition:
File share permissions
- If you are reading or writing data on network file shares, you need to make sure that FME Server can see that data too. What you have access to via your desktop is not the same as what FME Server has access to! FME Server will need to have the network permissions to access all the data required for your workflows. By default, FME Server won’t be able to access file shares on the network, and it needs to be configured with a domain user that is given access. Often, a specific FME Server user is created, and the required access is given to this user. For more information, check out this link.
- The mapped network drives from your desktop won’t work on FME Server, and you will need to convert your mapped file paths to UNC paths:
Mapped network drives:
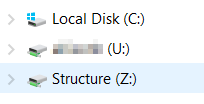
A UNC path looks like this:

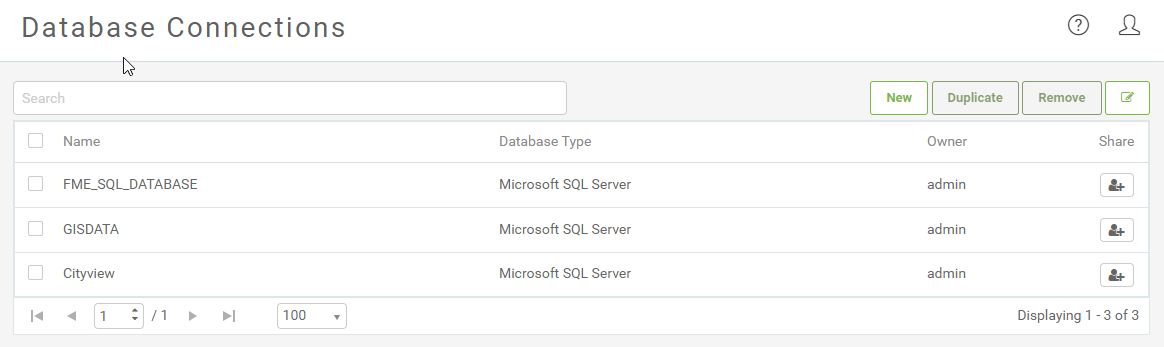
Database and Web Connections
- When you publish a workspace that uses Database and Web Connections, you can choose to either publish your Database connection along with the workspace – or not.
- If you publish your connection, the specific connection name and credentials you are using will then be published to FME Server, and depending on your sharing settings, could be made available to others. If you are in an organization that has standard connection information, it would be advisable to create common Database and/or Web connections in FME Server using standardized names, that are shared with the correct people. This prevents chaos in your Database and Web connections on FME Server! When you build your workspaces, make sure you use the same connection name so that it works on Desktop AND Server.
- If you choose not to publish your connection, make sure that the connection name you are using matches one on FME Server. Also ensure that the FME Server user who will be running the workspace has access to this connection as well!
-
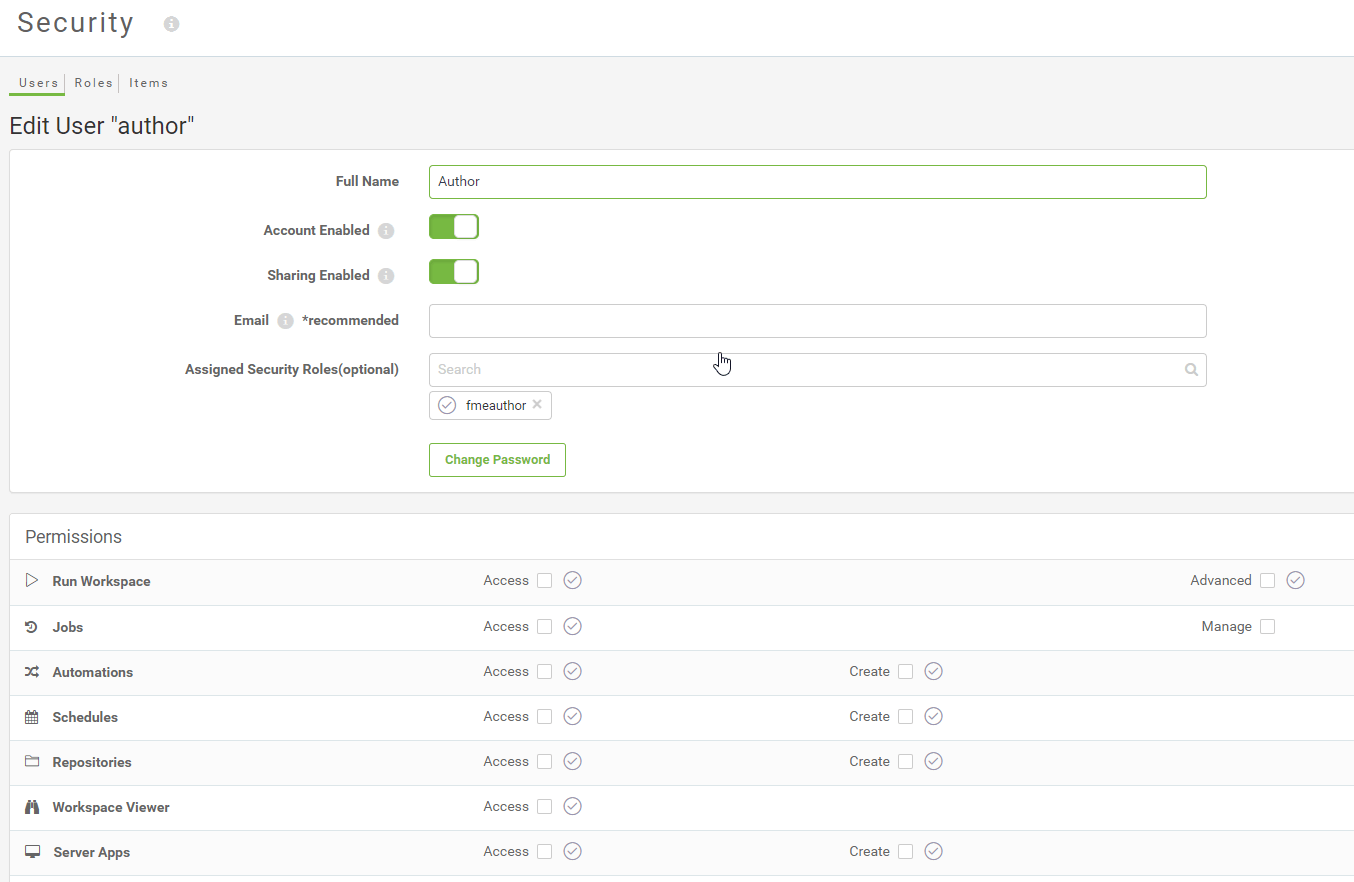
FME Server Security
- FME Server comes with a robust user management system, which allows for Users and Groups to be configured directly in FME Server, and/or synchronized with Active Directory. Components of FME Server (Repositories, Resources, Schedules, Notifications, etc.) can be made accessible, and at varying levels, to users and groups. Make sure that the FME Server user who will be running your workflows has access to everything it needs to run properly – you can check this in the Security configuration page on FME Server. The other side of that coin is that depending on your situation, perhaps you will want to limit access of certain components to users who might not need it!
Stay tuned for Part 2 where we will discuss more things to consider, including FME Server Parameters and Optimization to create a robust workflow.
Are you looking to move your workflows to FME Server?